Deploy an Operating System update
This tutorial is not supported by the virtual device because it does not have a board integration required for Operating System updates.
This tutorial will walk you through how to do robust Operating System updates with rollback. These types of updates cover the whole system including system level applications and the Linux kernel and ensure the device comes back in a consistent state even if the update process is interrupted for any reason such as power loss.
Prerequisites
You should:
- have completed Prepare a Raspberry Pi device. Note that this tutorial is not compatible with the virtual device.
- have completed Deploy an application update
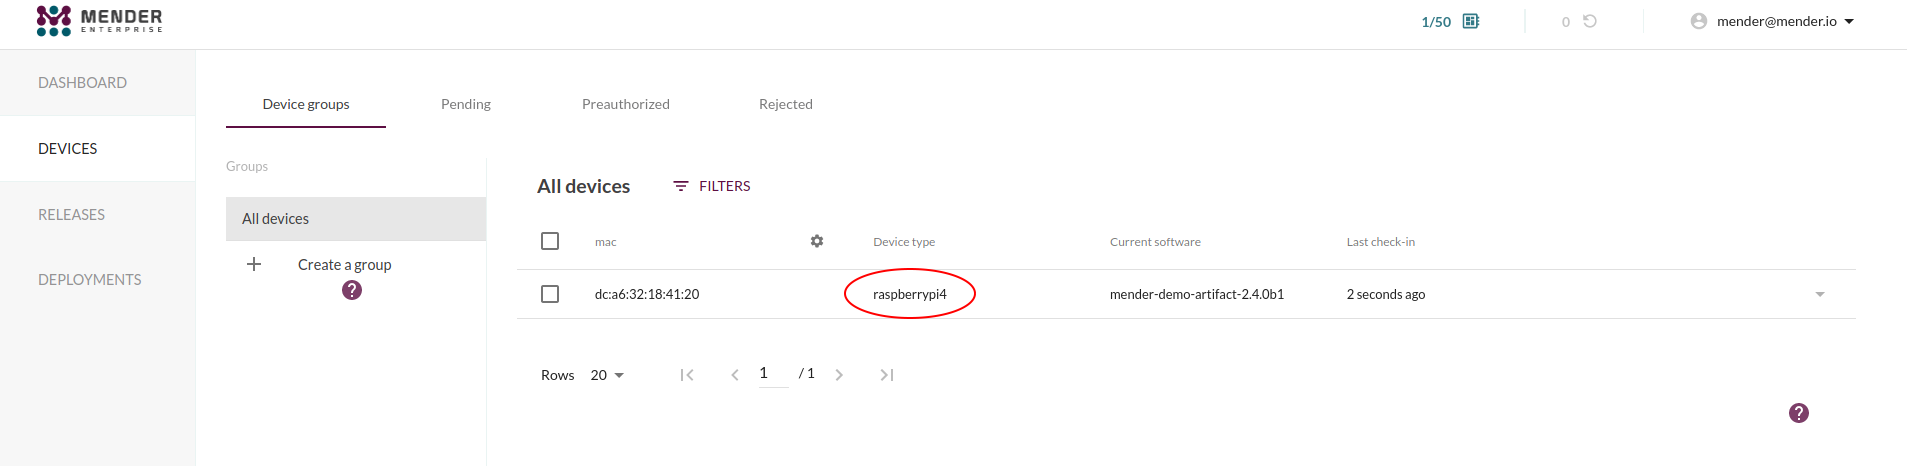
- know the IP address of your device
Step 1 - Download the mender-artifact utility on your workstation
On Linux, mender-artifact is available via a package repository for Debian based operating systems.
For the repo setup and package installation please follow instructions at Downloads page
On MacOS, install mender-artifact from brew using:
brew install mender-artifactStep 2 - Setup shell variables on your workstation
Setup the IP_ADDRESS shell variable with correct IP address of your device:
IP_ADDRESS="<DEVICE-IP-ADDRESS>"On Mender, check ipv4_eth0 or ipv4_wlan0 inventory attributes of your
Raspberry Pi device
Setup USER environment variable to match an existing user on the device, e.g:
USER="<your-user>"Mender Artifacts require a device compatibility value as input, which must match what the device is reporting to the Mender Server or it will refuse to install it. This is a safety mechanism to avoid installing software to incompatible hardware.
If you are unsure, you can check what the device is reporting on the server:
Use the result from above to assign that value to DEVICE_TYPE shell variable:
DEVICE_TYPE="raspberrypi4"Make sure to replace raspberrypi4 with the specific value that you are
seeing in your setup
Step 3 - Create a Mender Artifact using the snapshot feature
The easiest way to create Operating System updates is to use the snapshot functionality in Mender, which will create a snapshot of the Operating System on a currently running device and package it as a Mender Artifact that you can deploy to other devices.
Run the following command on your workstation to generate a snapshot Mender Artifact from your device:
The snapshot process requires a lot of temporary space (depending on the
device being snapshot), using /tmp by default. The --tmp option can be
added to the command below to specify a different directory for temporary
files.
mender-artifact write rootfs-image \
    -f ssh://"${USER}@${IP_ADDRESS}" \
    -c "${DEVICE_TYPE}" \
    -n system-v1 \
    -o system-v1.mender \
    -S "-p 22"
Your device is not usable while the snapshot operation is in progress. Mender will freeze the storage device during this operation in order to create a consistent snapshot.
Depending on your local network and storage speed, this will take up to 10-20 minutes to finish. You will see a progress indicator, and when it reaches 100% it will package the Mender Artifact which will take a few more minutes because it will need to compress the snapshot image.
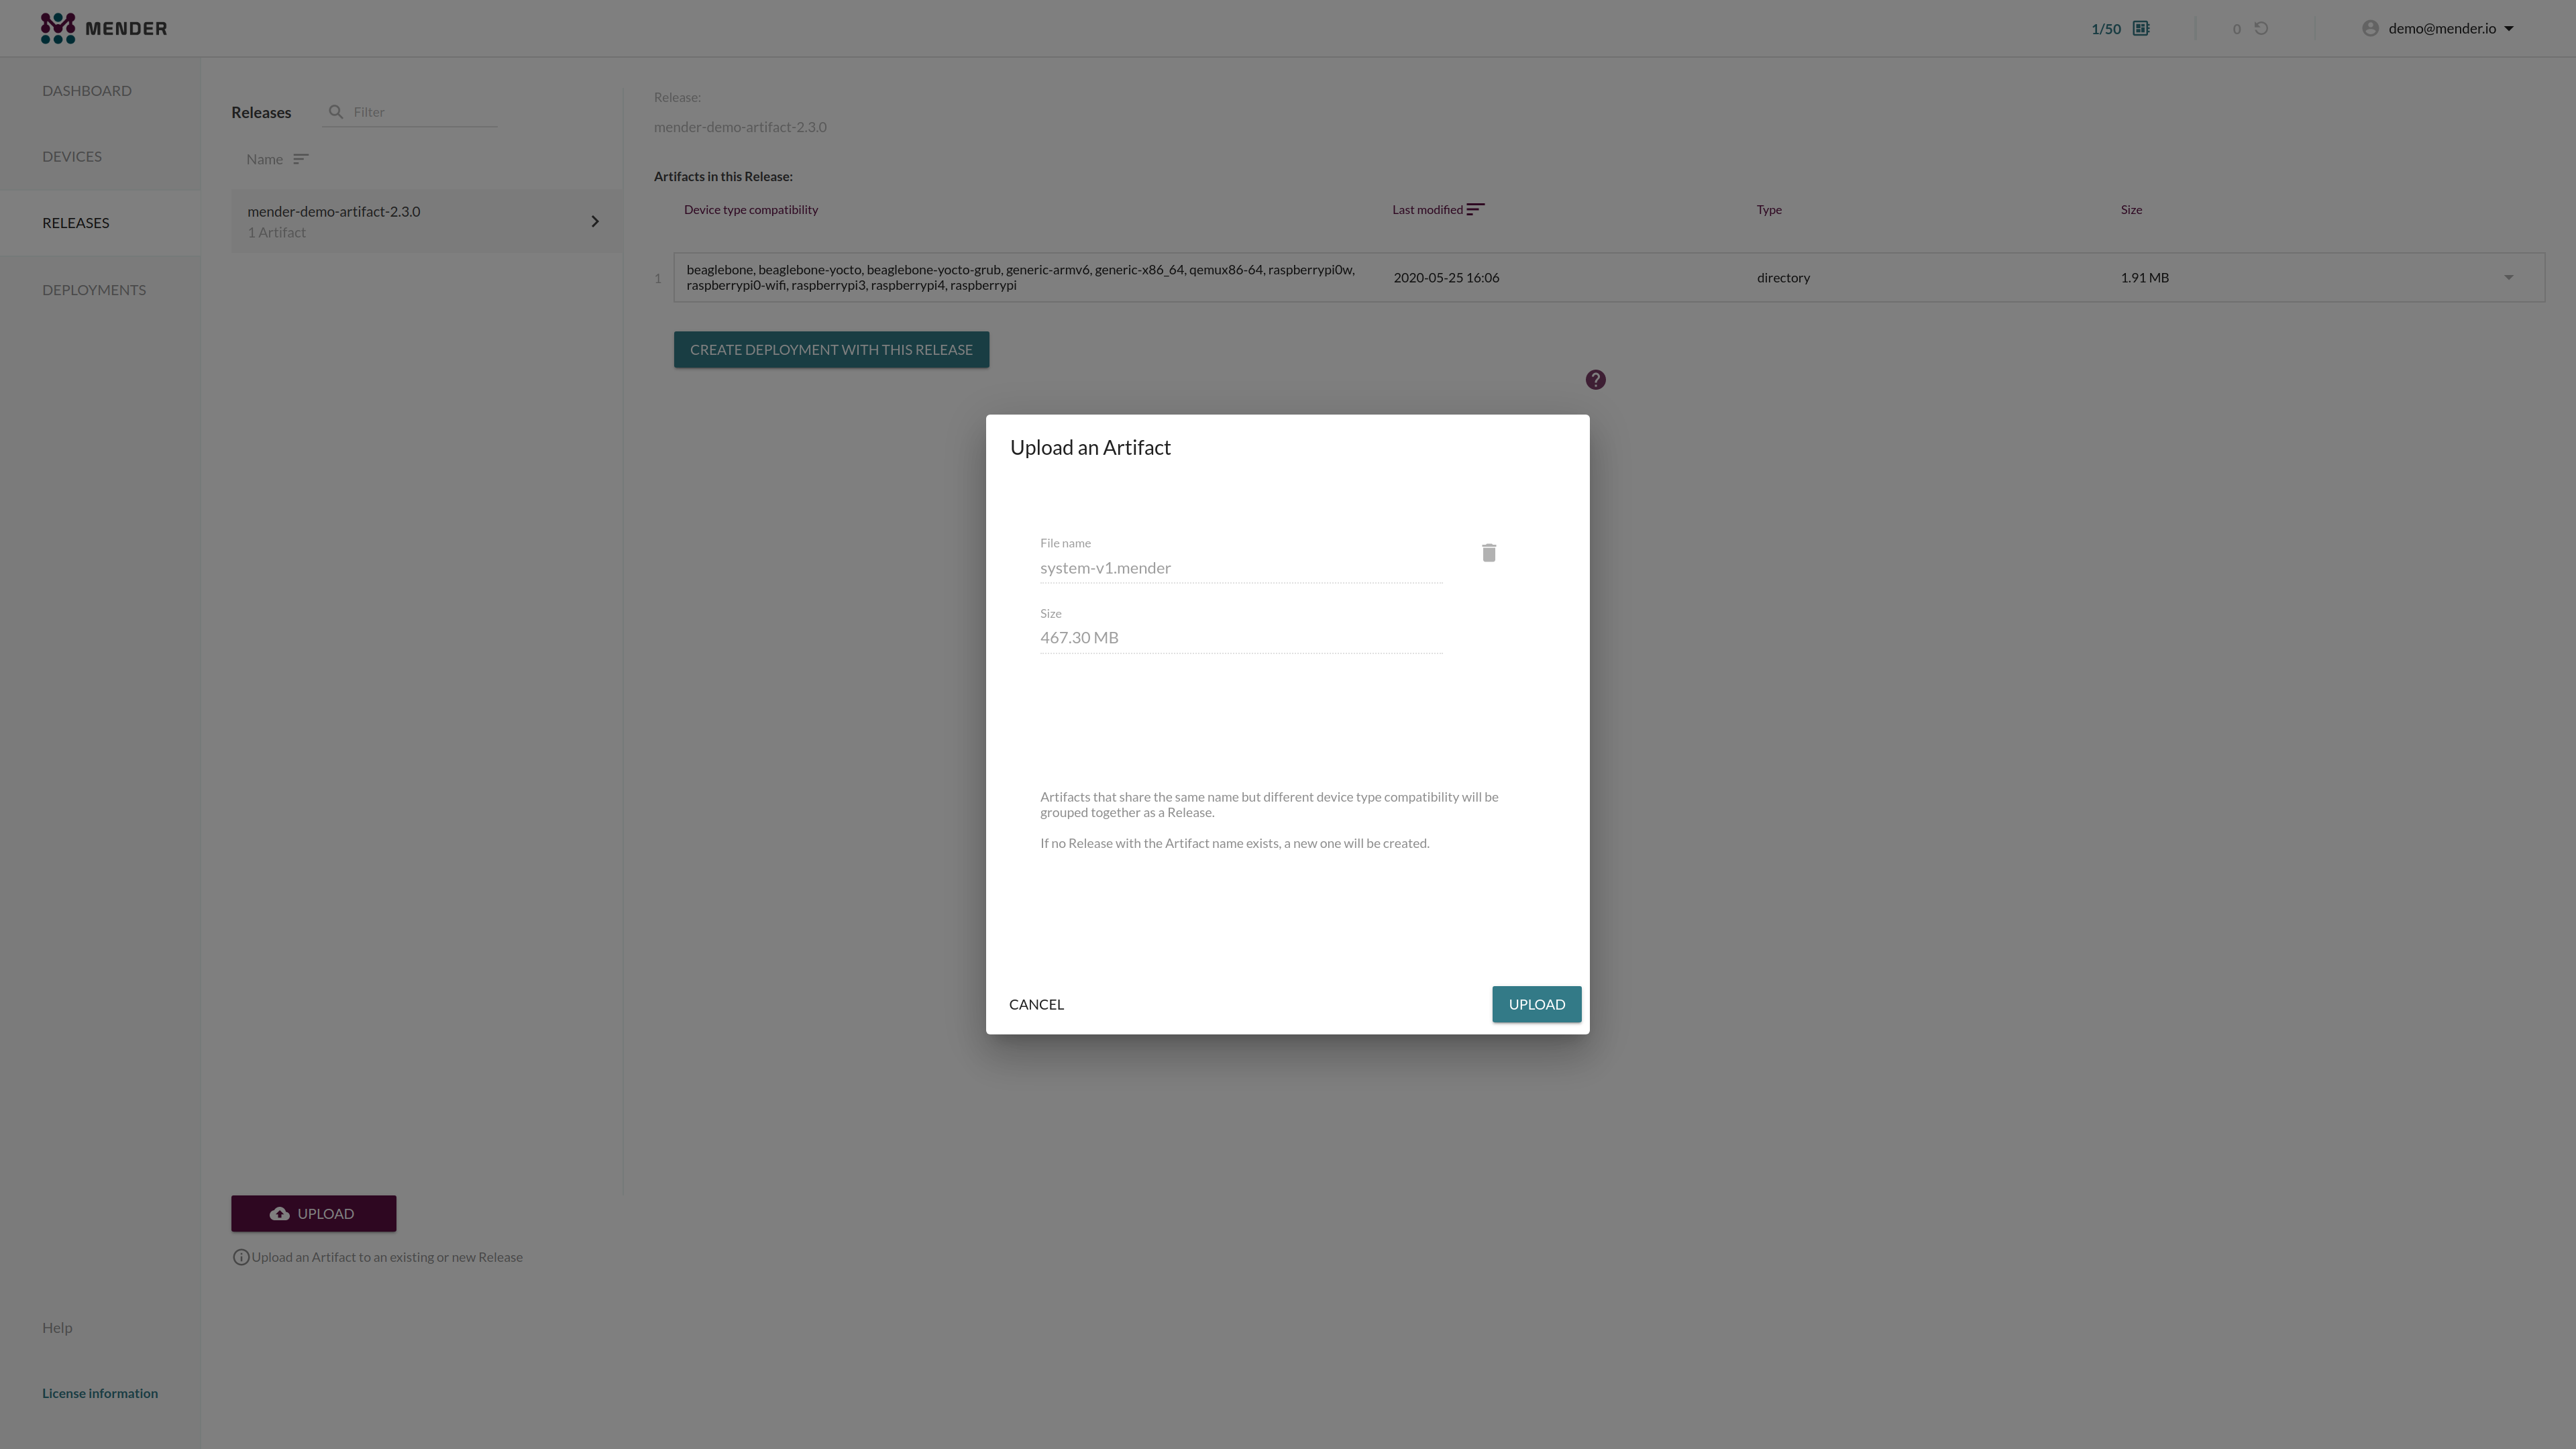
The end result is a file called system-v1.mender. Upload this file to
hosted Mender. You can do that using the UI under the Releases tab, as
demonstrated below.
Step 4 - Modify the device software
While your Artifact is uploading, we make some modifications to the device so we can see the effect of the deployment later.
On your device, run the following command to create a file:
echo "hello world" | sudo tee /greetings.txtIf the filesystem is read-only, you can remount it in read-write mode before creating the file:
sudo mount -o remount,rw /You can now check the /greetings.txt file to verify it exists, as you would expect.
ls -lah /greetings.txtNote that this modification is not part of your system snapshot created above.
Step 5 - Deploy the snapshot and experiment
Once the Artifact upload in Step 3 has finished, go to the DEPLOYMENTS tab and click CREATE DEPLOYMENT in order to deploy it to your device.
Once this deployment finishes it will have the effect of restoring your full
device root filesystem to the same state as when you created the snapshot in Step 3.
You can verify this by checking if /greetings.txt exists after the deployment has finished.
It is gone! This is because your device filesystem did not have this file
at the time you created the snapshot. This works for any change in the filesystem,
including removing or installing software and changing any configuration.
Please take a moment to experiment at this stage to familiarize yourself with robust Operating System updates with Mender.
As an example you can iterate this flow:
-
Make a change on the device, e.g change a configuration file or install an application.
-
Create a snapshot of the device changes you made
Mender will skip a deployment to a device if the Artifact is already installed, in order to limit resource usage, downtime and ensure consistency across the fleet. Make sure to use different names for new Artifacts you generate (instead of the two instances of
system-v1above). -
Upload the generated Artifact (
.mender) to hosted Mender and deploy it. -
Once you have two or more Artifacts uploaded you can switch between the software you have on your devices by deploying the respective Artifacts.
Deploy to many devices in order to effectively replicate the device software and configuration.
To read more about system snapshots, see the documentation on Artifact from system snapshot.
Using the snapshot feature is one way to create Operating System updates and additional resources on more advanced ways you will find here:
Read more
You can explore other types of updates available by extending the Mender Client in the Update Modules category in the Mender Hub community platform.