- 1. Get started
- 2. Overview
- 3. Client installation
- 4. Operating System updates: Debian family
- 5. Operating System updates: Yocto Project
- 6. Operating System updates: Zephyr
- 7. Orchestrate updates
-
8. Artifact creation
- Create an Artifact
- Create an Artifact with system snapshot
- Combining Operating System and Application updates
- Modify an Artifact
- State scripts
- Create a docker-compose update Artifact
- Create a Delta update Artifact
- Server-side generation of Delta Artifacts
- Standalone deployment
- Sign and verify
- Create a custom Update Module
- Software versioning
- CI/CD pipelines
- 9. Server installation
- 10. Server integration
- 11. Add-ons
- 12. Download
- 13. General
- 14. Server-side API
- 15. Device-side API
- 16. Troubleshoot
-
17. Release information
- Supported releases
-
Release notes & changelog
- Mender Server
- Mender Server Enterprise
- Hosted Mender
- Mender Client
- mender-connect
- mender-configure-module
- mender-setup
- mender-snapshot
- mender-flash
- mender-artifact
- mender-cli
- mender-convert
- meta-mender
- mender-binary-delta
- monitor-client
- Mender Gateway
- mender-client-subcomponents
- mender-container-modules
- mender-ci-workflows
- app-update-module
- Mender MCU
- Open source licenses
Clear History
Mender on Github
Prepare a virtual device
In this tutorial, we help you prepare your workstation to be able to run a virtual device (containerized) with Mender integrated which will connect to hosted Mender and simulate a physical device.
Prerequisites
To follow this tutorial, install Docker Engine on your workstation.
Step 1 - Login to hosted Mender
Hosted Mender is available in multiple regions to connect to. Make sure you select your desired one before proceeding.
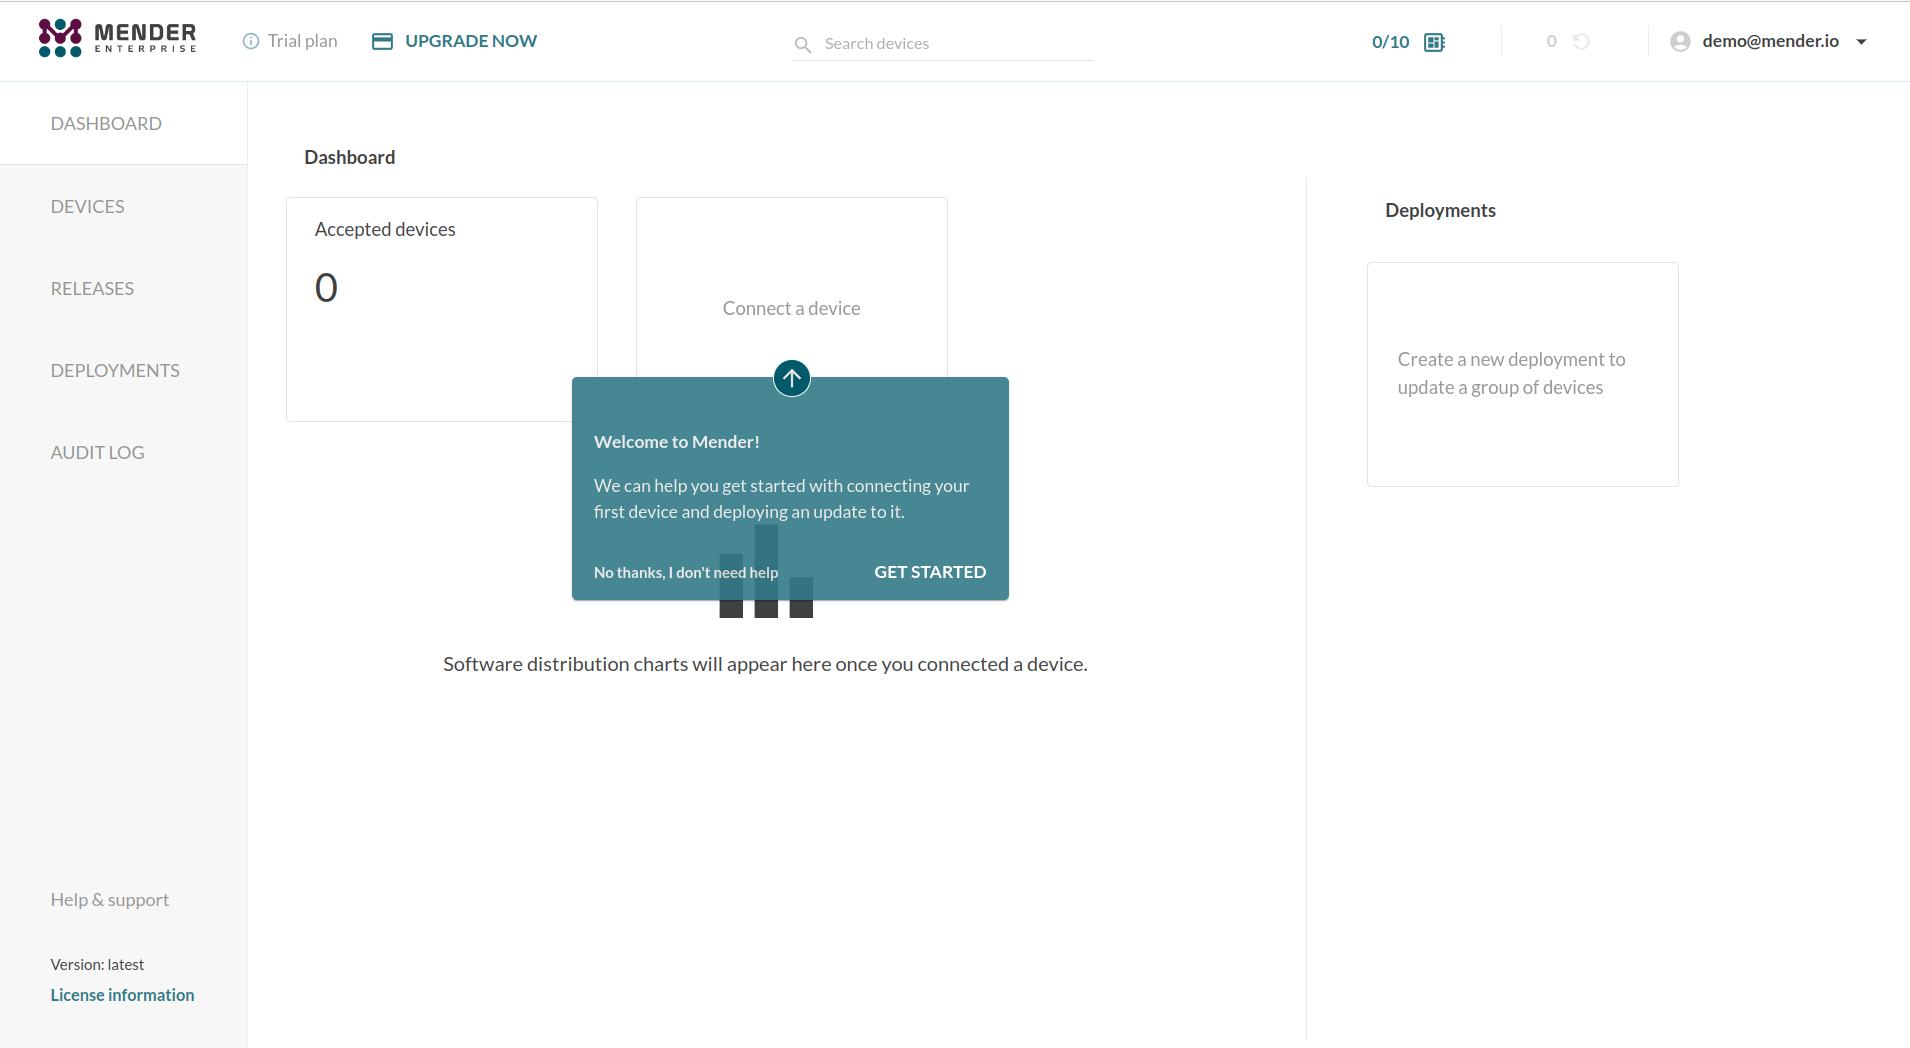
Login to hosted Mender. On the main page for the first time new users will get a tutorial in the Mender web GUI.
Go to the Dashboard tab and click on Connect a device.

Step 2 - Connect a device
Select Try a virtual device.

Step 3 - Start the virtual device
Next we start the virtual device on your workstation.

In the dialog box from above, click Copy to clipboard to copy the code. Now go to the command line on your workstation, and paste the code e.g. by right-clicking in the terminal and selecting Paste, followed by Enter.
This downloads the virtual device images and starts it.
This process could take several minutes depending on your workstation capabilities.
Step 4 - Accept the device
Once the client has started, the Mender Client will attempt to connect to the server and it will appear in your Pending devices tab in the server. Go ahead and Accept the pending device in the server. After accepting the device, it will appear on the Device groups tab on the left of Pending.

Before continuing to following the UI tooltips, please complete the step below.
Step 5 - Get the IP address of the virtual device
You will need the IP address of the virtual device in later stages of the documentation.
You should execute below commands in a terminal window on your workstation while the virtual device is running.
Save the CONTAINER ID in a shell variable:
CONTAINER_ID=$(docker ps | grep 'mender-client-' | awk '{print $1}')Find the IP address of the virtual device (we will save it a in shell variable):
IP_ADDRESS=$(docker inspect -f '{{range .NetworkSettings.Networks}}{{.IPAddress}}{{end}}' "${CONTAINER_ID}")Example output:
$ echo "${IP_ADDRESS}"
172.17.0.3
Next step
Please proceed to Deploy an application update to keep on following the UI steps.