Prepare an ESP32-S3 with Zephyr
We will build and flash a Zephyr firmware for an ESP32-S3-DevKitC board. By the end of this section, your device will boot and show up as pending in your Mender server (hosted Mender), ready to be accepted.
This guide assumes you are using Ubuntu, as it is a well supported workstation environment both for Zephyr and Mender.
Prerequisites
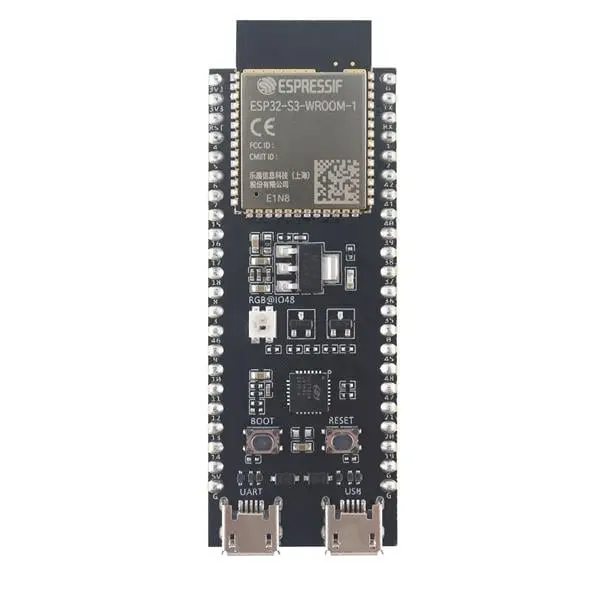
- ESP32-S3-DevKitC board and a USB cable to connect it to your computer.
- Mender Artifact tool: Install the mender-artifact tool on your workstation. This is used to create Artifact (.mender) files that contain the software for deployment. Download and install
mender-artifactby following the instructions here. - Tenant token in your hosted Mender account: Sign in to hosted Mender. Find your Organization token (aka. Tenant token) in the hosted Mender UI (go to your user menu → My organization → Organization token). Copy this token, and we will insert it into the firmware build.
- WiFi network credentials: Since the ESP32-S3 board will use WiFi to connect to the internet, have your WiFi SSID and password ready.
Step 1 – Set up the project and code
First, we'll set up a basic Zephyr development environment. This guide assumes version 4.4.0 is used. To do so, follow the Zephyr getting started guide 4.4.0.
Next, we'll obtain the reference Zephyr application that integrates Mender. We will use the official mender-mcu integration example for this tutorial, which already has Mender support and sample code for the ESP32-S3.
mender-mcu is the core library that implements Mender’s OTA update functionality designed for devices running Zephyr. It provides the essential client APIs, state machine, and Update Module support needed to perform firmware updates. mender-mcu-integration is a Zephyr workspace that incorporates the mender-mcu library along with example application code and configuration. It serves as a reference implementation, showing you a complete example on how to integrate the Mender MCU client into your own Zephyr projects.
Open a new terminal with the Zephyr virtual environment; if you installed the virtual environment in the default path, run:
source ~/zephyrproject/.venv/bin/activateRemember to activate the virtual environment every time you open a terminal.
Initialize a new west workspace for the Mender MCU integration project. In the same terminal
change your current working directory to a different one than ~/zephyrproject, e.g. to ~/, and run:
west init ~/mender-mcu-workspace --manifest-url https://github.com/mendersoftware/mender-mcu-integration
cd ~/mender-mcu-workspace
west update
This will pull all necessary repositories, including the mender-mcu module and the example application. The workspace will contain a Zephyr project configured for the ESP32-S3 (among other boards).
Configure network credentials and Mender tenant token: We will set the WiFi SSID, WiFi password, and Mender tenant token via build arguments for simplicity. Prepare the following environment variables (replace the first three with your actual values):
export WIFI_SSID="YourWiFiSSID"
export WIFI_PASS="YourWiFiPassword"
export TENANT_TOKEN="paste-your-Hosted-Mender-token-here"
export ARTIFACT_NAME="release-1"
These will be passed into the build to configure the device's WiFi connection and authentication with hosted Mender. The example uses these to configure the Zephyr WiFi driver and the Mender Server Tenant Token.
Choose Mender server: By default, the US hosted Mender server is configured. If you are using EU hosted Mender server, update the project configuration to use it. Open ~/mender-mcu-workspace/mender-mcu-integration/prj.conf in a text editor. Change the line
CONFIG_MENDER_SERVER_HOST_US=yto
CONFIG_MENDER_SERVER_HOST_EU=yPrepare the Espressif firmware blobs: We will use WiFi, which requires firmware blobs to be prepared. Do so by running:
west blobs fetch hal_espressifStep 2 – Build and flash the firmware
Now we will compile the Zephyr application with Mender support and flash it to the board. The mender-mcu integration repository comes with build presets for our board, including MCUboot. We will use a single west command to build both the bootloader and application, then flash them.
Build the firmware using west. In the same terminal (ensure the environment variables from above are still set), run:
west build -b esp32s3_devkitc/esp32s3/procpu --sysbuild mender-mcu-integration -- \
  "-DCONFIG_MENDER_APP_WIFI_SSID=\"${WIFI_SSID}\"" \
  "-DCONFIG_MENDER_APP_WIFI_PSK=\"${WIFI_PASS}\"" \
  "-DCONFIG_MENDER_SERVER_TENANT_TOKEN=\"${TENANT_TOKEN}\"" \
  "-DCONFIG_MENDER_ARTIFACT_NAME=\"${ARTIFACT_NAME}\""
First build may take a few minutes as it fetches and compiles Zephyr, MCUboot, and the Mender MCU client.
Let's break down this command:
--sysbuild mender-mcu-integrationtells west to build the project (located in the ~/mender-mcu-integration directory) using Zephyr's system build (which will compile MCUboot and the app together).- The
--and subsequent-D...options pass CMake cache values to the build. Here, we set the WiFi SSID (CONFIG_MENDER_APP_WIFI_SSID), WiFi password (CONFIG_MENDER_APP_WIFI_PSK), and the Mender tenant token (CONFIG_MENDER_SERVER_TENANT_TOKEN) to the values we set earlier. These correspond to Kconfig options used in the project'sprj.conffor configuring WiFi and Mender.
The command will produce two binaries: one for MCUboot (the bootloader) and one for the application firmware. Zephyr will also automatically sign the application with a default key to make it compatible with MCUboot.
Flash the device: If the build succeeds, flash the firmware to the ESP32-S3 board. Ensure your board is connected via USB to the port labeled "UART" and in the appropriate programming mode if required (ESP32-S3 typically enters programming mode automatically via DTR/RTS signals). Once this is done, run:
west flashThis will reset the board and upload the bootloader and the application to the correct flash partitions (using the esptool backend for ESP32).
Your system user needs read/write permissions to /dev/tty*. Usually this means that your user needs to belong to the dialout group.
Monitor the serial output (optional): You can open a serial monitor to watch the device boot. For ESP32, west provides a monitor integration. Run this in a separate terminal:
west espressif monitorYou should see log output from MCUboot and then the Zephyr application. On first boot, the logs may show the device connecting to WiFi and attempting to authorize with the Mender server (using the provided tenant token). If all goes well, it will log something like <err> mender: [401] Unauthorized: dev auth: unauthorized. Those authentication errors are expected at this step as the device is not yet authorized in the Mender server.
Step 3 – Authorize the device in Mender
When the device starts up with the Mender client, it will automatically try to connect to the Mender server. Because this is a new device, it will appear as pending in your hosted Mender account. We must accept the device to become authorized and receive deployments.
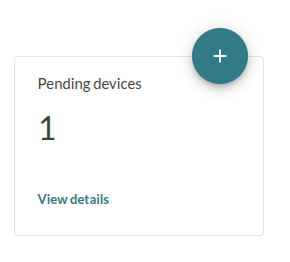
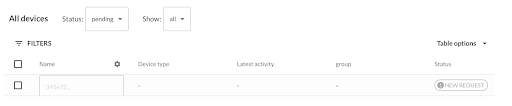
- Log in to hosted Mender. On the Dashboard tab you should see one device pending authorization. Click View details and you should see an entry for your ESP32-S3 device. It will be identified by its identity which by default is the MAC address:
mac=XX:XX:...and have a status "pending."
If your device is not visible in the Devices tab see our Troubleshooting section.
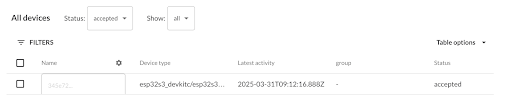
- Accept the device: Select the pending device and Accept it. After accepting, the device will appear on the Device groups tab on the left of Pending.
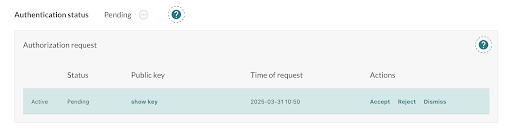
After accepting, the device is fully provisioned in Mender. The Mender client on the device will be informed that it's authorized and will proceed to report inventory and listen for deployment instructions.
Done!
At this point, your ESP32-S3 board is connected to hosted Mender – it is running Zephyr firmware with Mender enabled and is recognized by the server. In the Mender UI, you can click on the device to inspect its inventory.
Next, proceed to deploy a firmware update to this device.